Want to add a personal touch to your existing furniture but unsure where to start? Try the all-new range of Rust-Oleum Stencils in classic, creative and quirky designs to add a unique element to your wardrobes, desks, tables and drawers.
Whether you want fun, playful shapes for a children’s bedroom or nursery, or to decorate your favourite pieces with bespoke patterns and motifs, follow this quick and easy tutorial and put your own stamp on your furniture.
You will need:

· Rust-Oleum Stencils
· Rust-Oleum Stencil Brush Pack
(Small, Large or Brush and Sponge for a textured effect)
· Rust-Oleum Painter’s Touch
· Rust-Oleum Metallic Copper
· A Cloth
· A Roller
Step 1
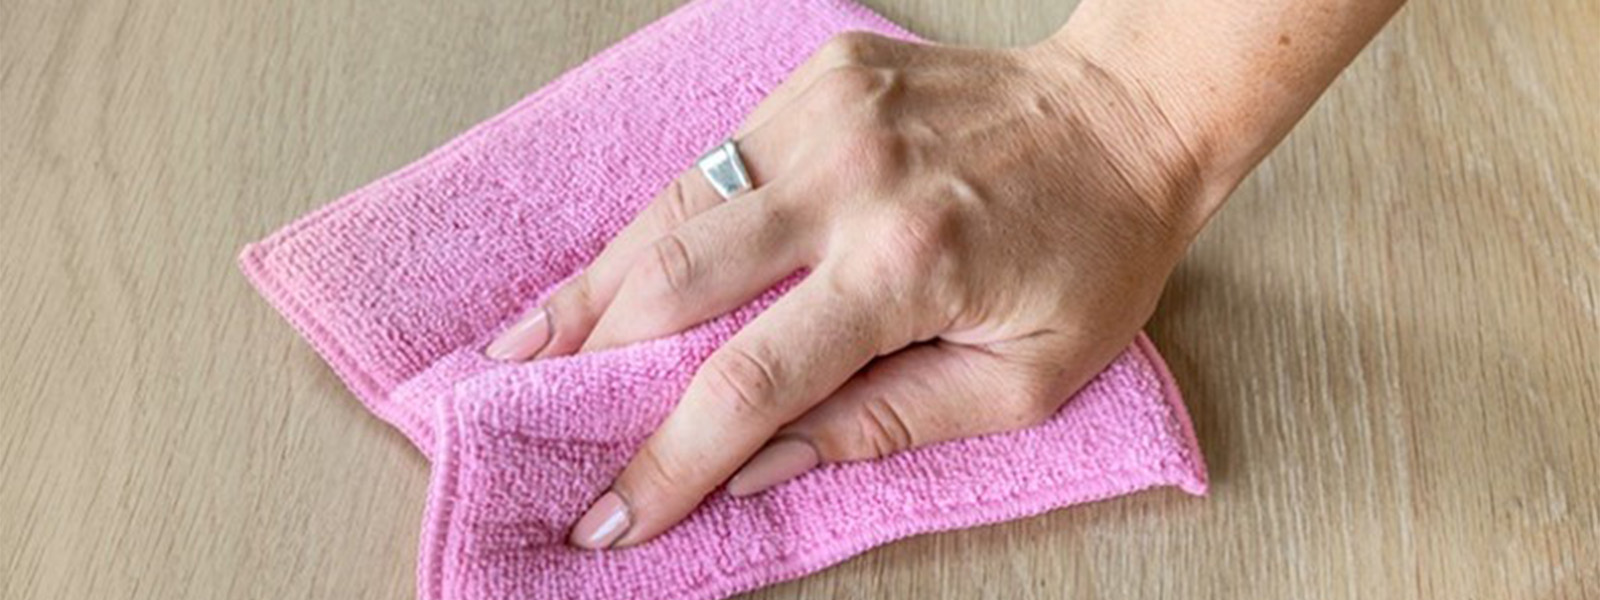
With no primer or topcoat needed on most surfaces, simply clean your furniture thoroughly with a damp cloth before painting.
This is to make sure that there are no contaminants, such as dirt or dust, that could interfere with the paint adhesion- ensuring a nice, smooth finish.
Step 2

Apply your desired colour of base coat with a roller and allow to dry. Don’t forget to stir the paint before use!
You may also want to practice using the stencil on a piece of cardboard while wating for the base to dry.
Step 3
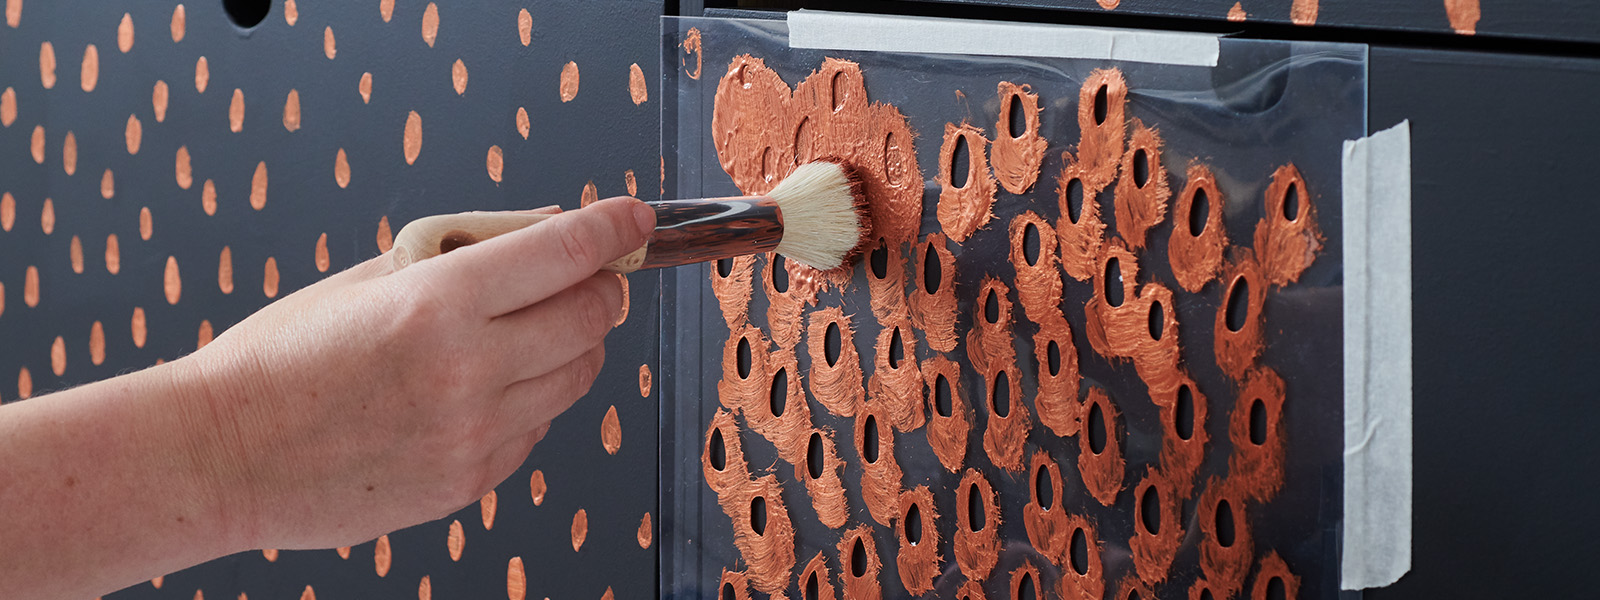
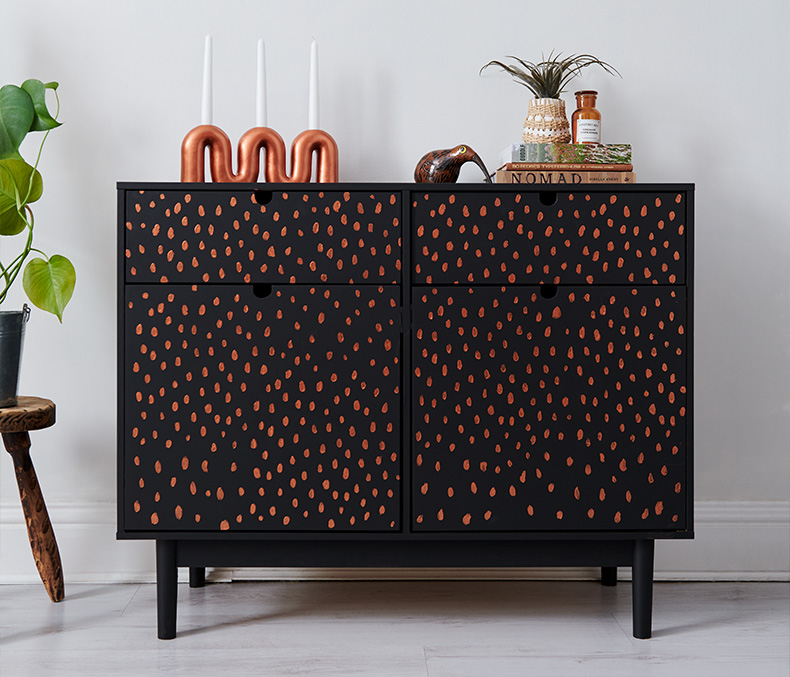
Hold the stencil firmly against your desired surface or attach with masking tape if you prefer. Dip the stencil brush into the tin (we went for Metallic Finish Furniture Paint in Copper) and wipe off any excess.
A stencil brush in particular works better than a normal paintbrush as the shorter, stiffer bristles reduces the chance of paint getting under the stencil edge.
If your design features more than one colour, you may want to use several brushes instead of cleaning your brush each time.
Step 4

Apply your brush to the stencil and cover the shape with a dabbing motion. Alternatively, you could also use a sponge for a more textured effect.
Use your free hand to keep the stencil pressed down and in place.
Step 5

When you are happy with your artwork, carefully remove the tape and the stencil ensuring that you do not touch the paint or smear the design.
Wipe the stencil clean after use for next time.
And that's it!

Now all you have to do is stand back and admire your creation.
Upcycle your old furniture into your new favourite piece with artistic Rust-Oleum Stencils. Customise to your heart’s content with a wide selection of designs to choose from including Aztec, Flower, Geometric, Spots, Star and Terazzo.
Create your own combinations of patterns and shapes to make something unique and personal to you!
Want even more textures and colour combinations? Try Rust-Oleum Furniture Paint.
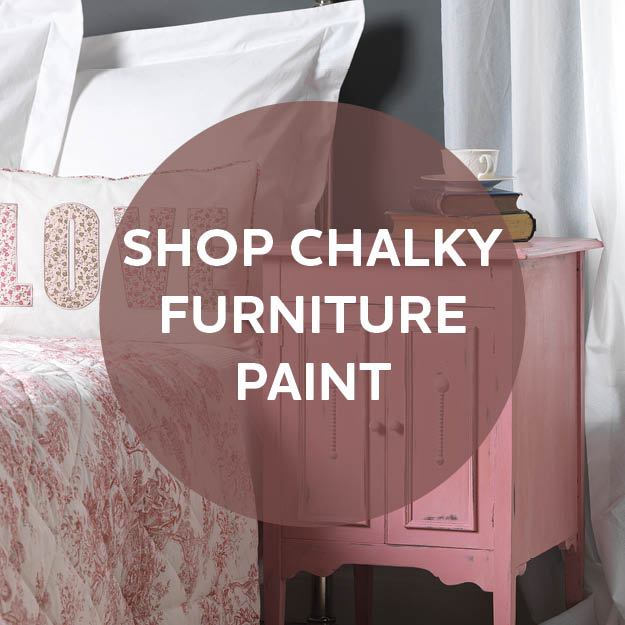
Available in 110 stylish colours and four different finishes, choose from Matt, Satin and Gloss as a stunning backdrop for your stencil designs, or for a distressed, vintage look try the classic Chalky Finish.